

Something not working as expected?
We would really appreciate if you could let us know what the issue is! If you want us to get back to you about it, you can leave your email too.
← All Features
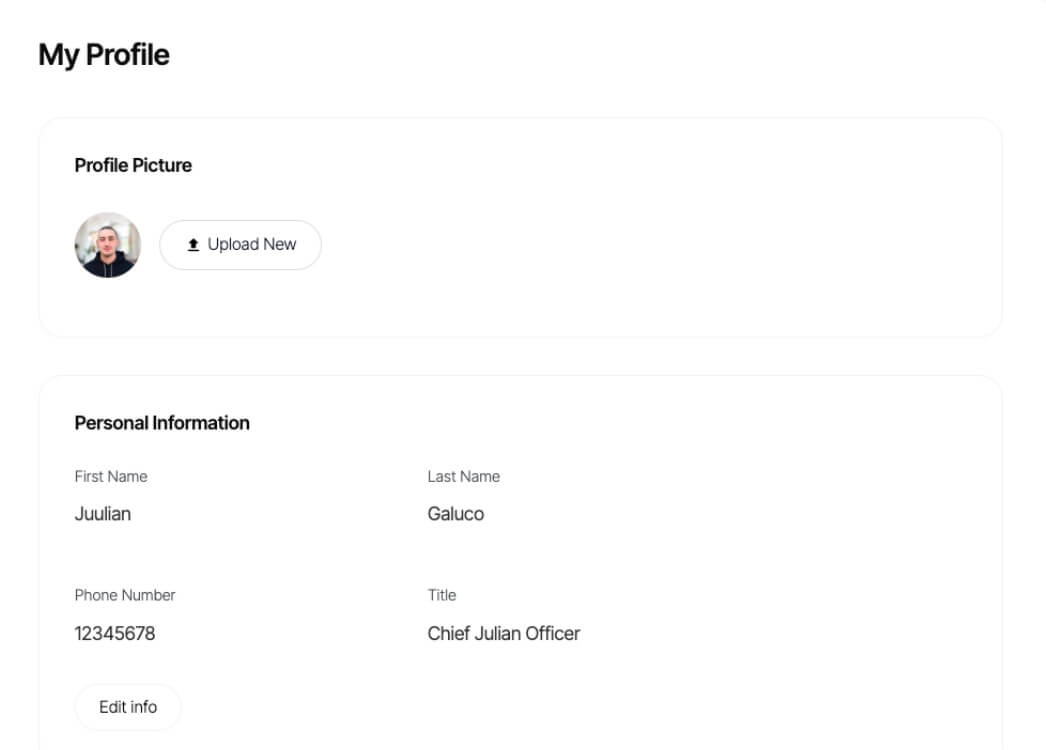
Profile Portal
Profile Portal
Let members manage themselves with easy access to their information, billing history, and current membership.
Benefits
Let Members Manage Themselves
Provide a seamless and user-friendly experience for members. Members can easily update their profile information, such as contact details, preferences, or personal information, without the need for manual intervention or contacting customer support.
Accurate Member Data
Ensure member data remains accurate and up-to-date by allowing members to directly input or modify their information when things change.
Copy & Paste Webflow Components
Let Members Manage Themselves
Provide a seamless and user-friendly experience for members. Members can easily update their profile information, such as contact details, preferences, or personal information, without the need for manual intervention or contacting customer support.
Accurate Member Data
Ensure member data remains accurate and up-to-date by allowing members to directly input or modify their information when things change.


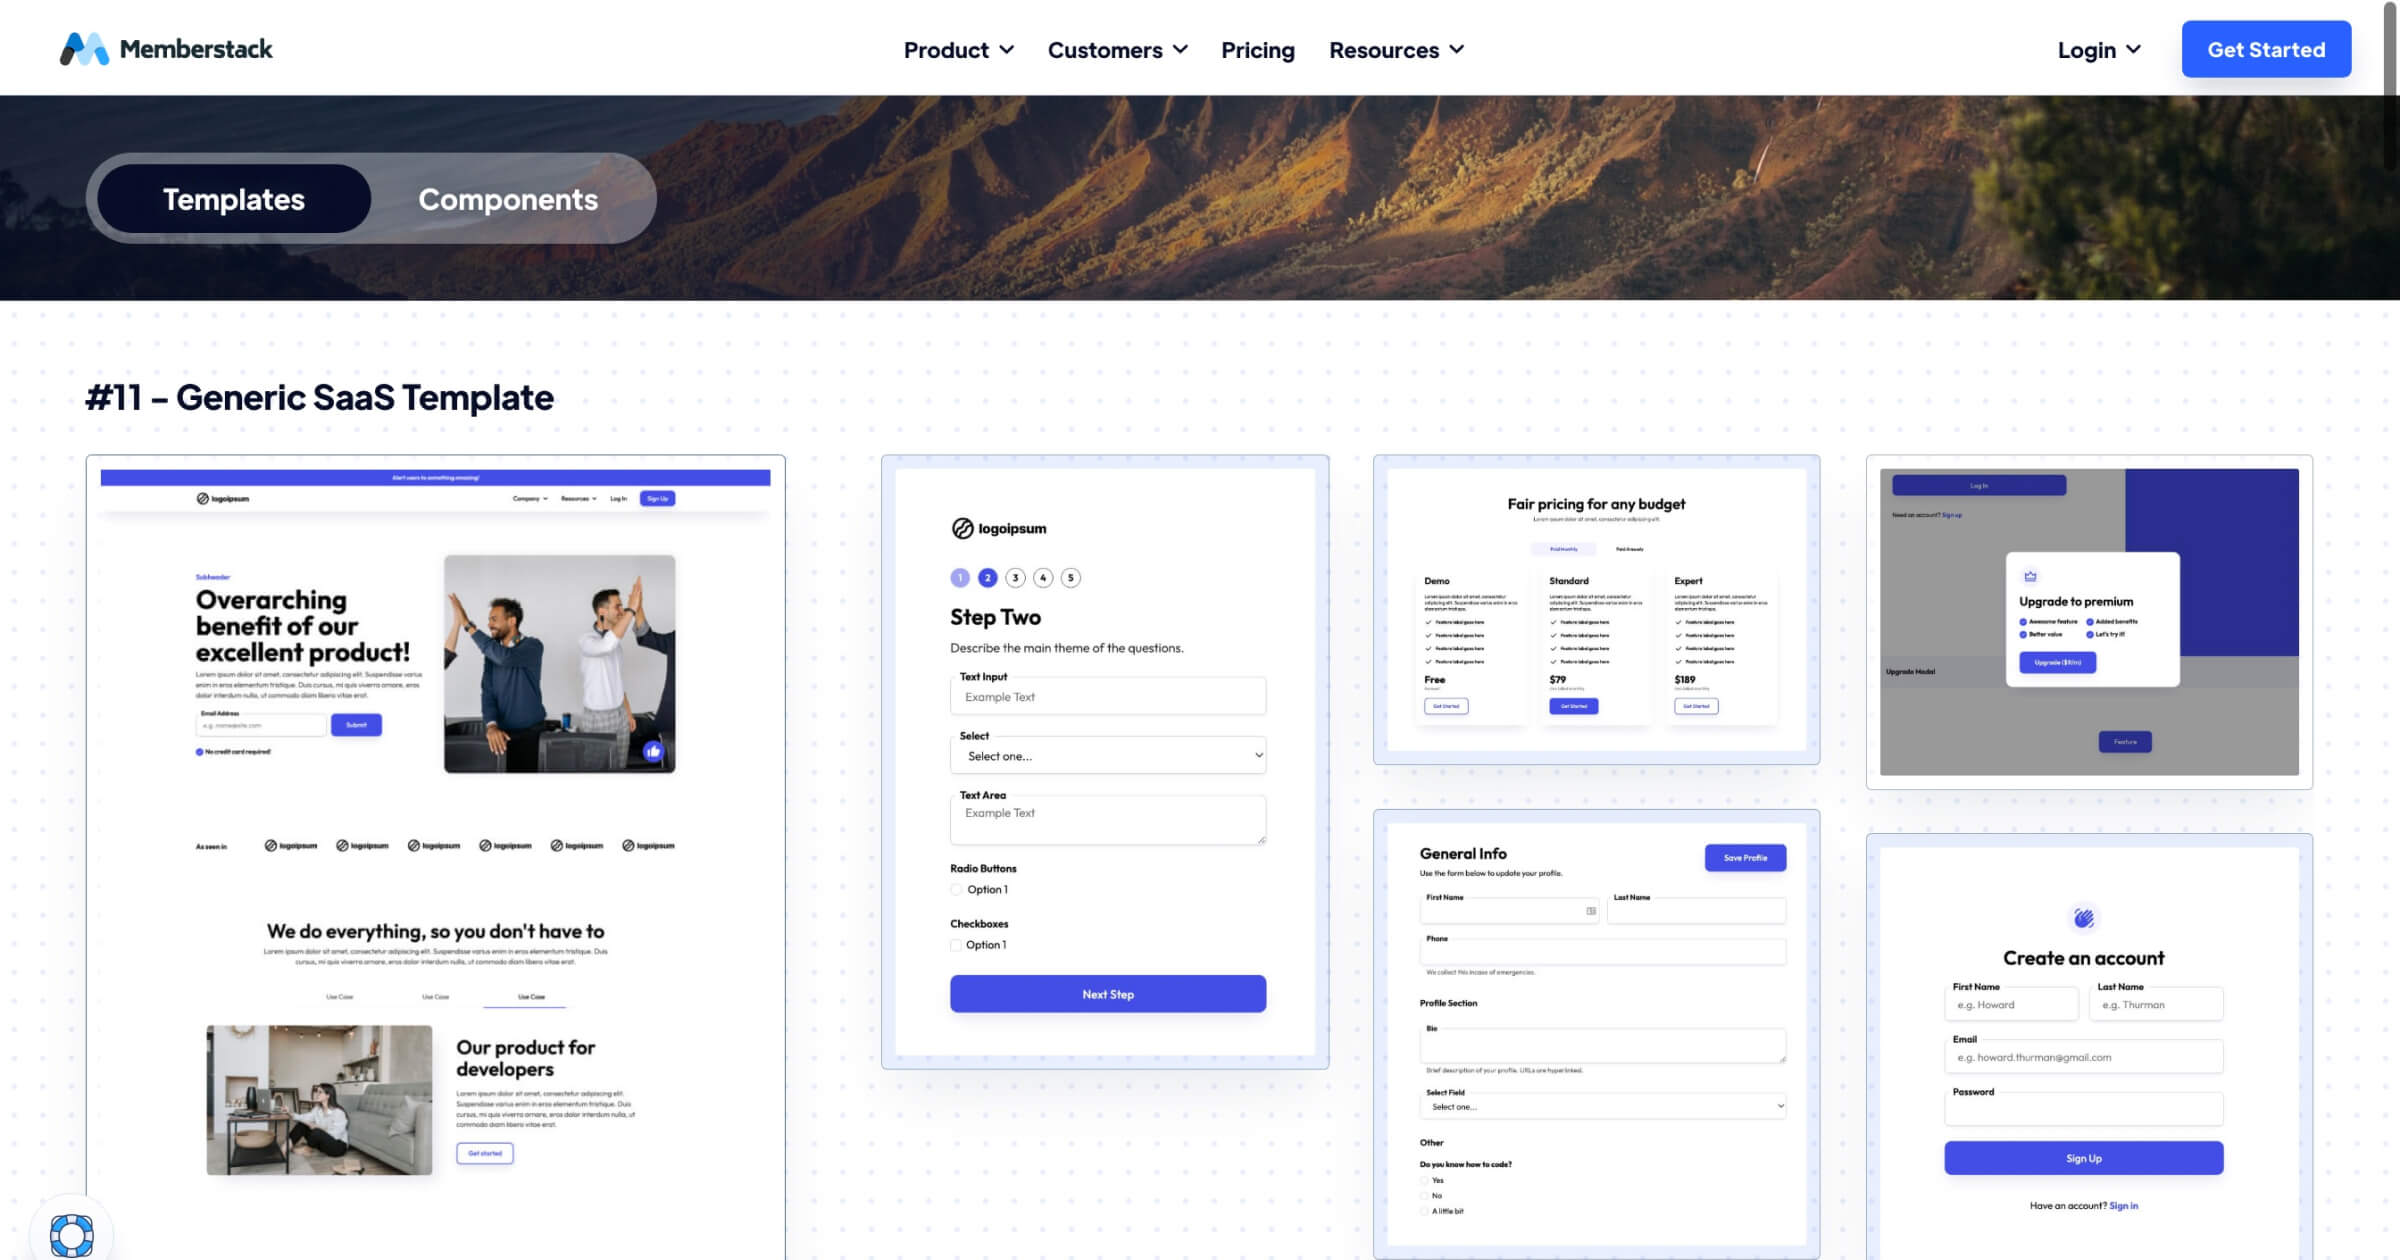
How to Integrate a Profile Form with Memberstack and Webflow
Here are three different ways to integrate a profile form with Memberstack & Webflow.
A. Copy a Webflow Component (2 min)
This method is the fastest and most highly recommended. We have hundreds of customizable components you can use to get started.
1. Pick from over 100+ free components or start with an unstyled Profile form.
2. Copy the form element and paste it into your project.
All of the attributes and custom code you need have already been set up for you.
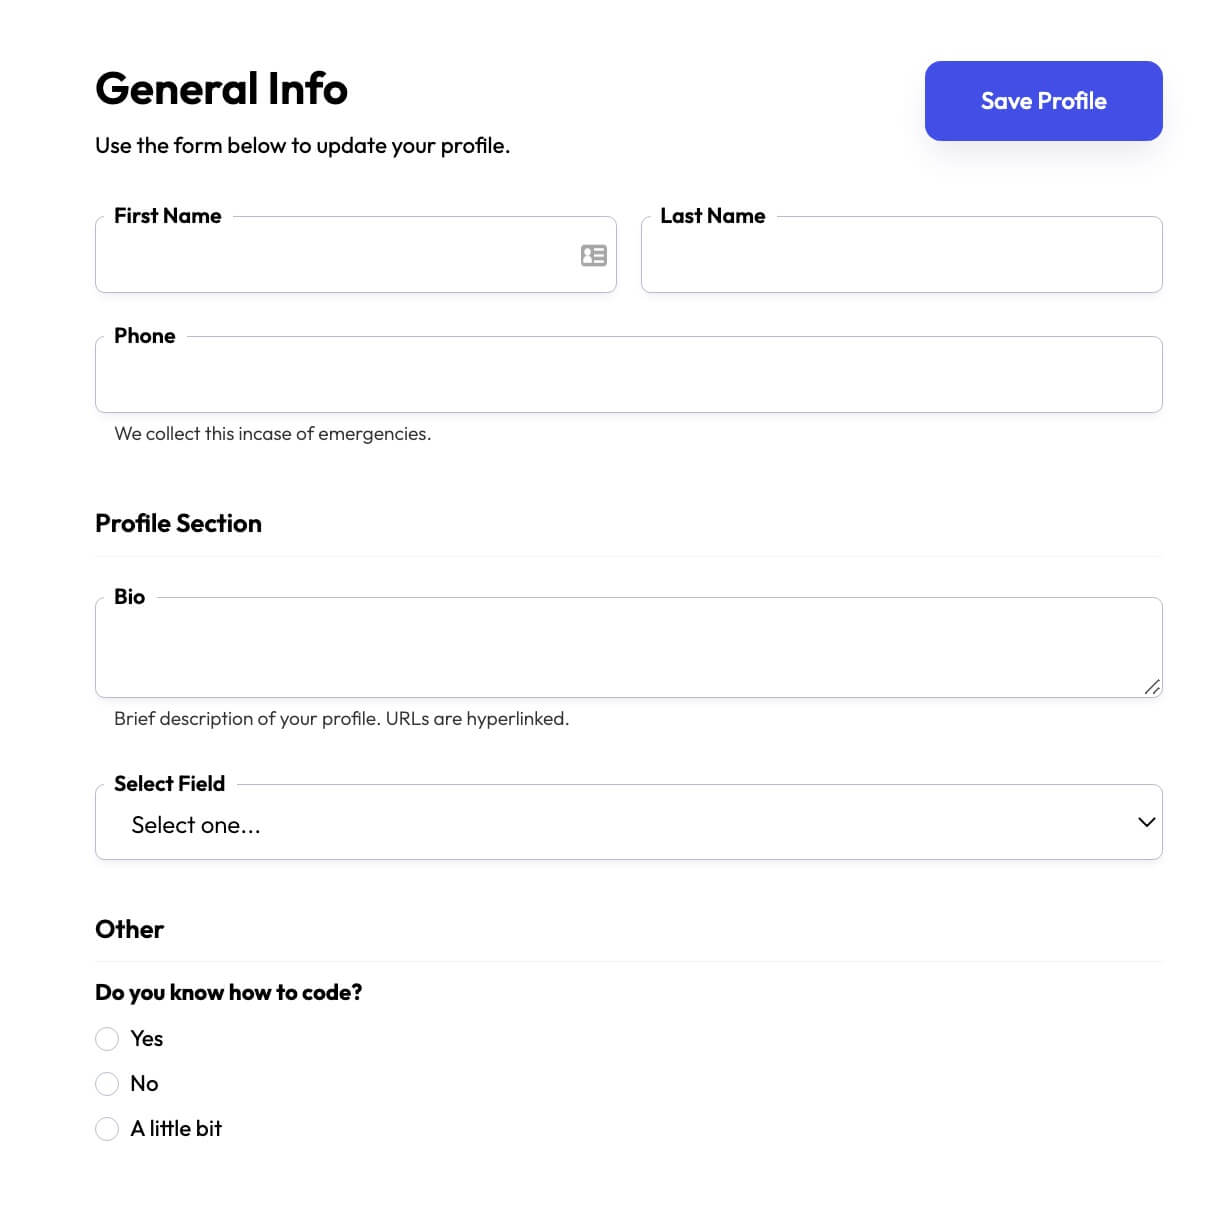
B. Build a Profile Page from Scratch (6min)
Form One → Update Custom Fields
- Add the data-ms-form="profile" attribute to the form element.
- Next, you’ll need to design your various input fields to your website. Name fields, phone number, bio, links, etc.
- Then you’ll need to create the equivalent custom fields in Memberstack. Here’s an article to get your started… Create Custom Fields.
- Add the appropriate data-ms-member="fieldID" attributes to you input elements.
Form Two → Update Email
- Add the data-ms-form="email" attribute to the form element.
- Add the data-ms-member="email" attribute to an input element. Set the type to email.
💡 Each type of profile form can live on its own page, or share a page with the others. The layout is up to you. However, each form must have the right data attributes.
Form Three → Update Password
You need the following 3 data attributes.
- A the data-ms-form="password" attribute on the form element.
- A the data-ms-member="current-password" attribute for the members current password input.
- A the data-ms-member="new-password" attribute for the members new password.
Form Four → Stripe Customer Portal

We have an article that explains the Stripe Customer Portal and how to use it here.
C. Use the Pre-built Profile Modal (1min)
Step 1 → Create a login link or button on your site.
Step 2 → Add the data-ms-modal="profile" attribute to your link.
Similar Features
Hosted Content
Host HTML content and links directly within Memberstack, ensuring that your “hosted” content is only accessible to members with the appropriate plans or permissions.
Learn moreCustom Error and Success Messages
You get to design everything. Including the error and success messages that Memberstack displays when an "Email is already taken" or a "Profile has been updated."
Learn moreCancellation Insights
Collection cancellation reasons from customers via Stripe's pre-built UI.
Learn moreWebflow Component Library
Constantly growing library of over 200 custom-built Webflow components.
Learn moreTranslation
Create your own UI and set the text to be in any language you like. Translate hosted pages, error messages, and success messages too.
Learn moreCustom Forms
Build any form UI in your front-end and connect it to Memberstack attributes for logging in, signing up, profile settings, forgotten passwords and more.
Learn more

.png)
