


TABLE OF CONTENTS

FOLLOW
This post will teach you how to prompt visitors to log in in webflow and when/why you might want to use prompt visitors to log in in your project.
How to Prompt Visitors to Log In
Memberscripts needed
#11 - Automatically Open Login Modal - How to prompt visitors to log in
Tutorial
https://www.loom.com/share/4c5ddc17d36f4f7b9b6f7986f1b341a1?sid=4bd469f8-b01d-4754-8742-aba1c38b3964
Attributes used
ms-code-modal=”login”
Cloneable
https://webflow.com/made-in-webflow/website/automatic-login-modal
Why/When would need to Prompt Visitors to Log In?
- Lead users further down the conversion funnel and increase your conversion rate.
- When creating an account, you can uniquely identify users on your website and target them with special offers based on the data you have on them.
- Accounts allow users to see and control the data they share with you, thus fostering transparency and building trust.
- Accounts allow users to get a better support experience – e.g. being greeted with their name, already having access to their activity/purchase history, etc.
Getting your website visitors to create an account and log in is a great way to lead them further down the conversion funnel and increase your conversion rate.
They might not be immediately inclined to do this but you can nudge them a little by, for example, displaying a login modal. Within that modal, you can talk about the benefits of creating an account and offer them a quicker way to do so through their existing Google, Microsoft, or Facebook accounts, for example.
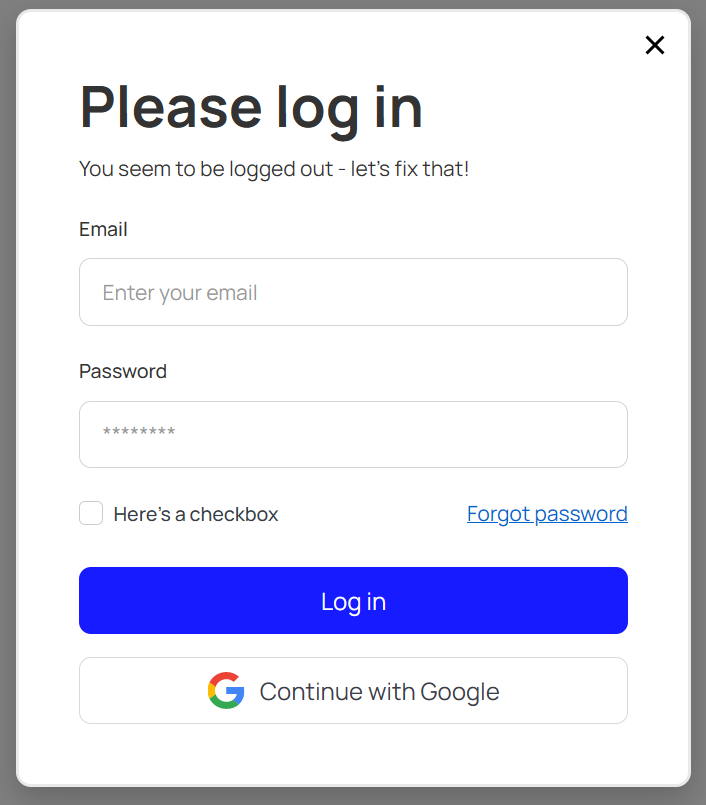
How to add a login modal to your Webflow site
To add a login modal to your site, you can use MemberScript #11 – Automatically Open Login Modal. Open the link and you can see a tutorial video on how to set it up.
Creating the modal
You can either build a custom modal yourself and add all the fields and buttons you need, or you can just use our demo.
If you choose to use a custom modal, just go ahead and build the login form however you like and use the attribute ms-code-modal=”login” for the main parent of the element that holds your login form.
Making it work
Now that you’ve got your modal built, you need to add the custom code from MemberScript #11 to your page, before the closing body tag.
If you’ve watched the tutorial video, you’ll know that once you copy the code to your site, you’ll need to choose between the default MemberStack modal or your own custom one.
To do that, you just need to move around some comment tags in the code and it only takes a few seconds.
And that’s all there is to it, you’re good to go. You can edit the modal however you want and offer all the login methods you think would be beneficial to your users.
Conclusion
As mentioned earlier, asking users to log in can be beneficial for both your users and yourself and using MemberScript #11 is a super easy way to implement a login modal on your Webflow site.
If you need a bit of help to get you started or just don’t want to create a custom modal, you can get our free cloneable and add it to your Webflow site in minutes.
Take me to the Scripts
#11 - Automatically Open Login Modal - How to prompt visitors to log in


.png)
