

Something not working as expected?
We would really appreciate if you could let us know what the issue is! If you want us to get back to you about it, you can leave your email too.
← All Features
Custom Fields
Custom Fields
Collect and store any data you can pass through a Webflow form in your members' profiles.
Collect and store any data you can pass through a Webflow form in your members' profiles.
Benefits
Flexibility
Custom fields allow you to capture specific information that may not be captured by default fields. This can help you better tailor customers data collection to their specific needs.
Informed decision making
Custom fields can provide you with access to valuable information that can be used to make more informed decisions, such as information about your customers preferences or behaviour.
Better customer experience
Use custom information to personalize your customer experiences, such as providing targeted recommendations or promotions based on customer preferences.
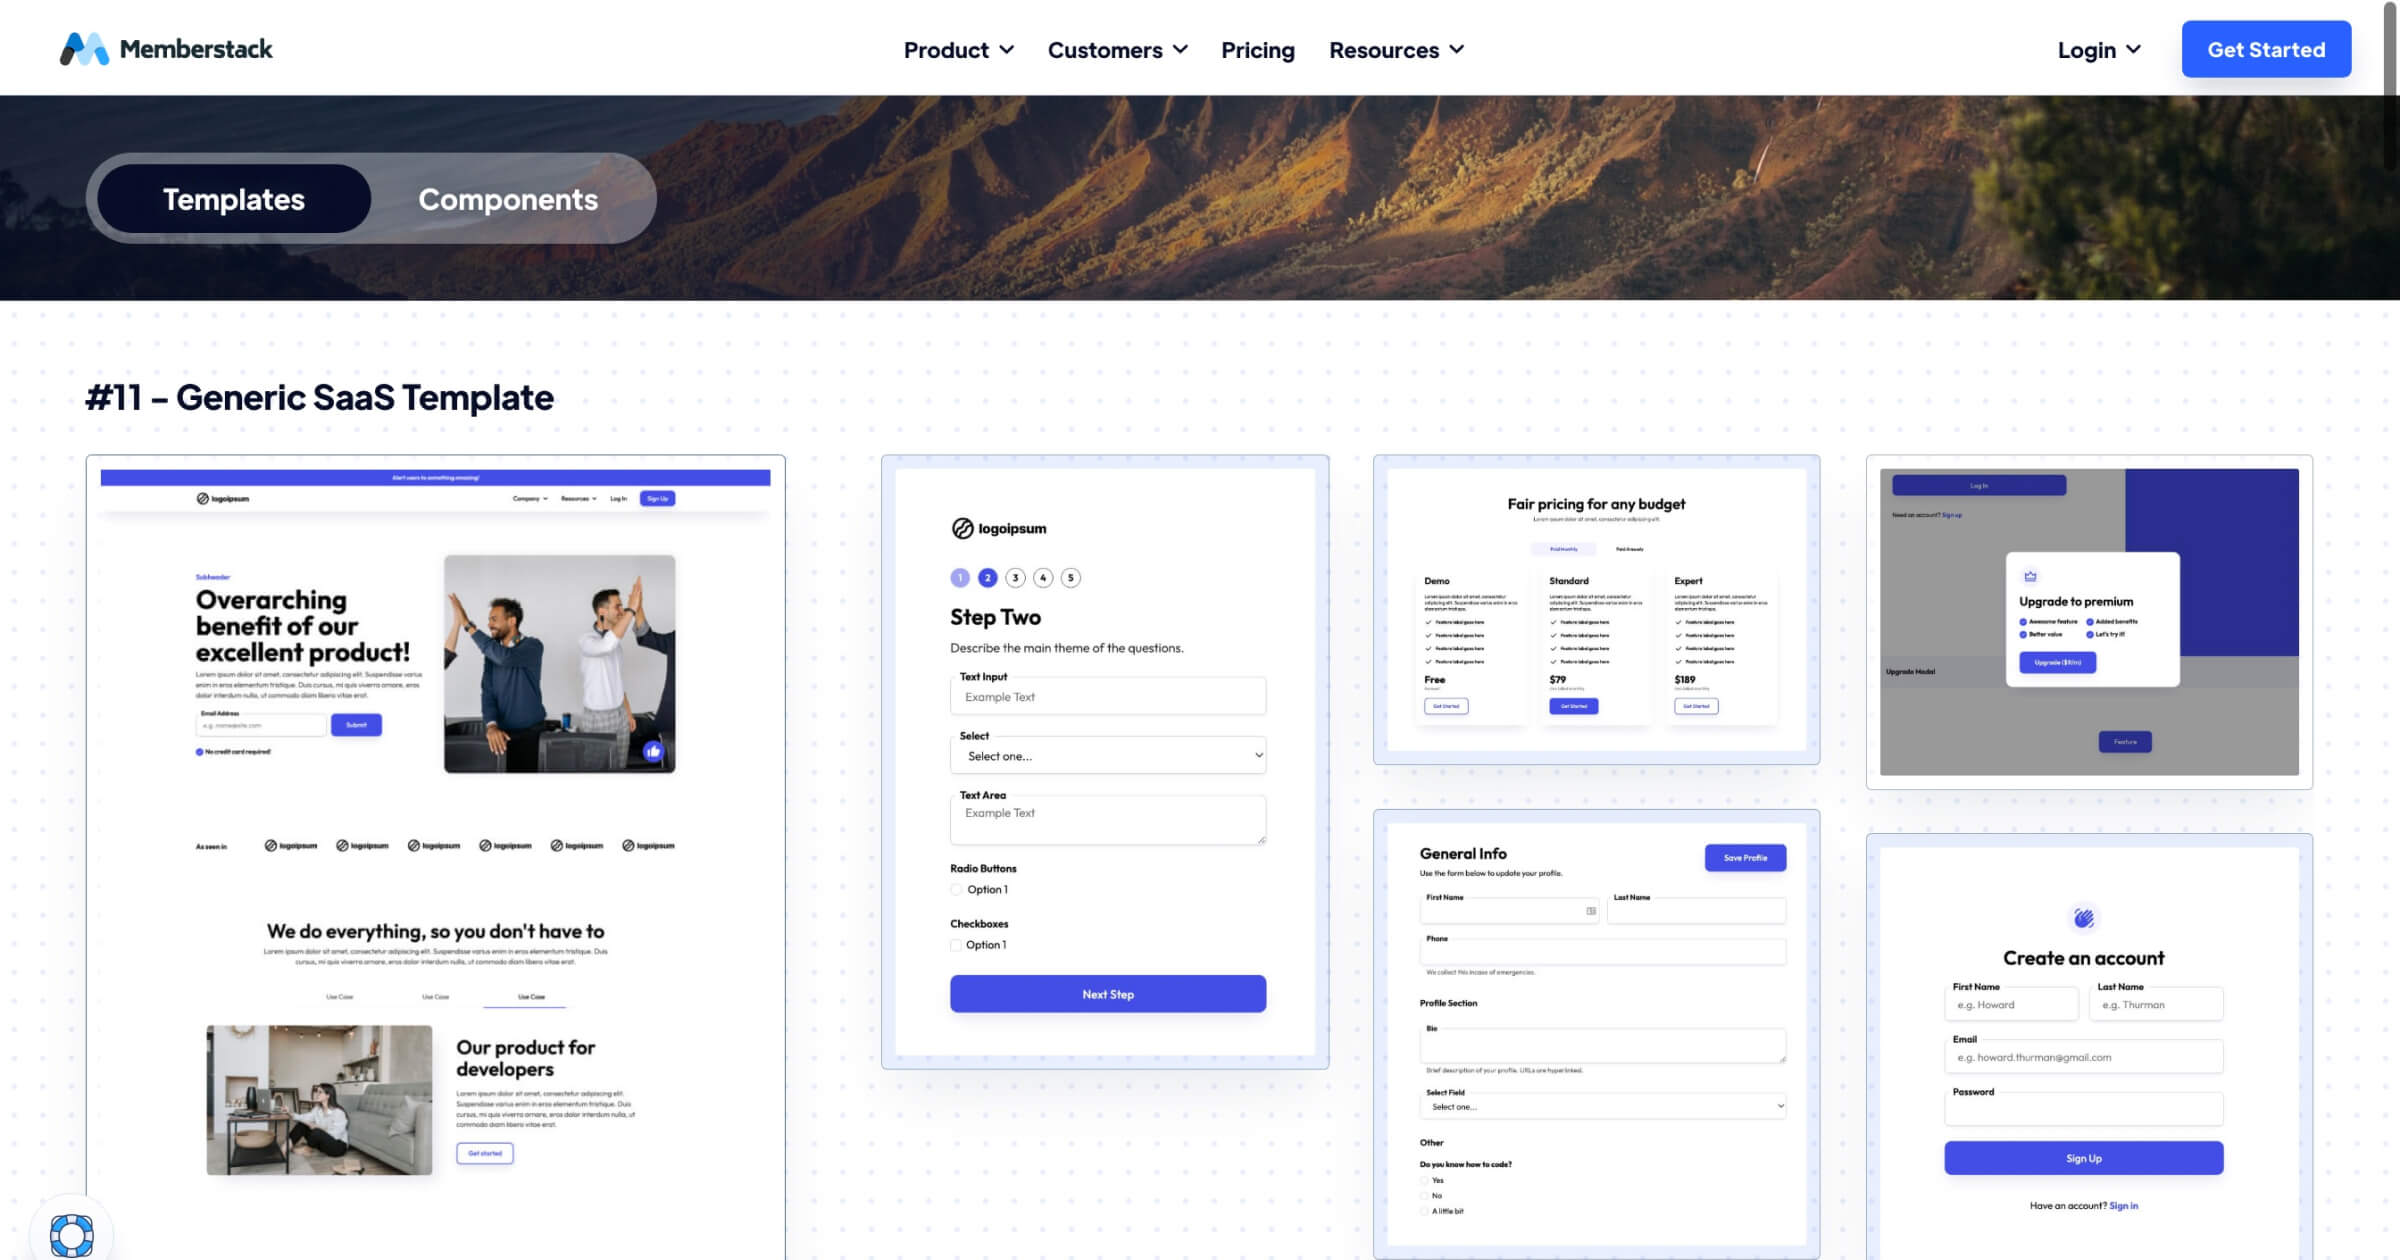
Copy & Paste Webflow Components
Flexibility
Custom fields allow you to capture specific information that may not be captured by default fields. This can help you better tailor customers data collection to their specific needs.
Informed decision making
Custom fields can provide you with access to valuable information that can be used to make more informed decisions, such as information about your customers preferences or behaviour.
Better customer experience
Use custom information to personalize your customer experiences, such as providing targeted recommendations or promotions based on customer preferences.


How Custom Fields work in Memberstack
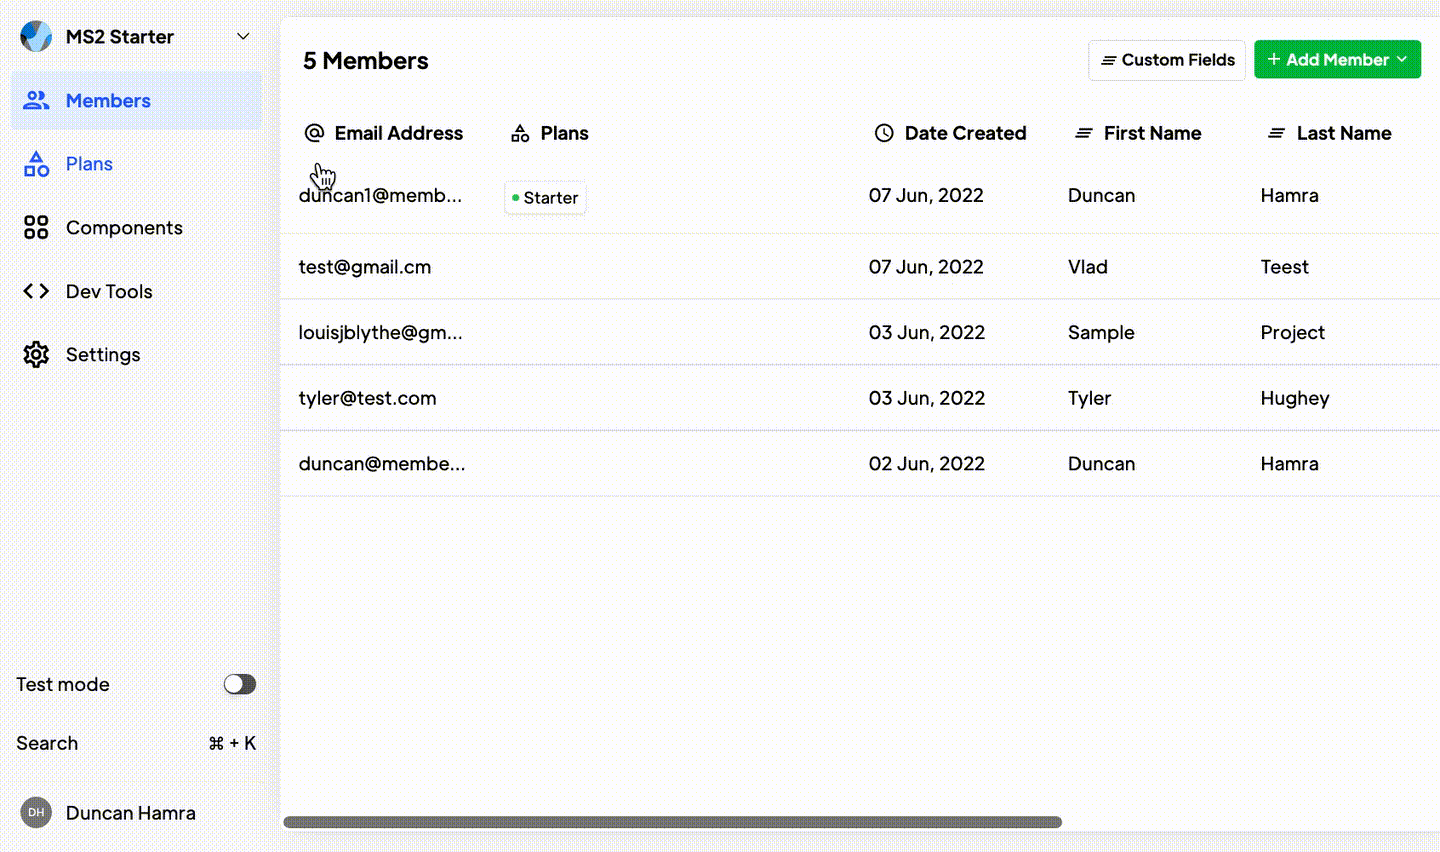
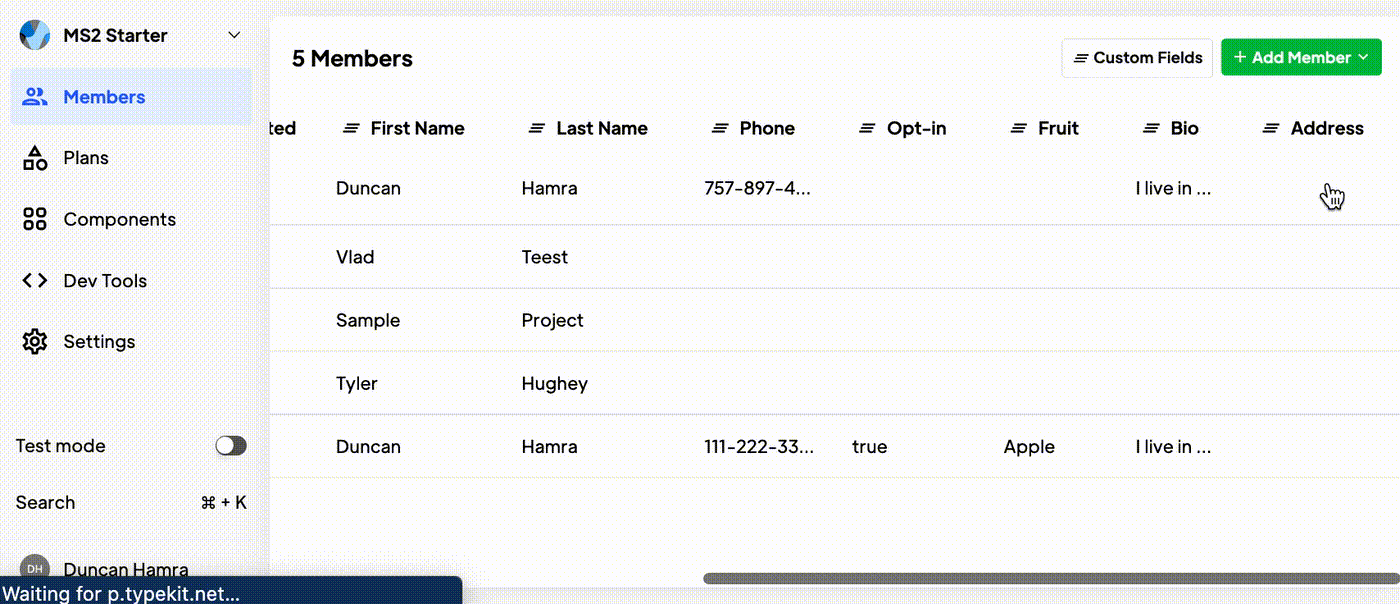
Custom fields are columns of data in your Member database. You can use them to collect and store information for your members. You can have as many custom fields as you want.
How to create custom fields
Step 1 → Navigate to the Members page.
- Click here, or click “Members” in the top left-hand corner of your project.
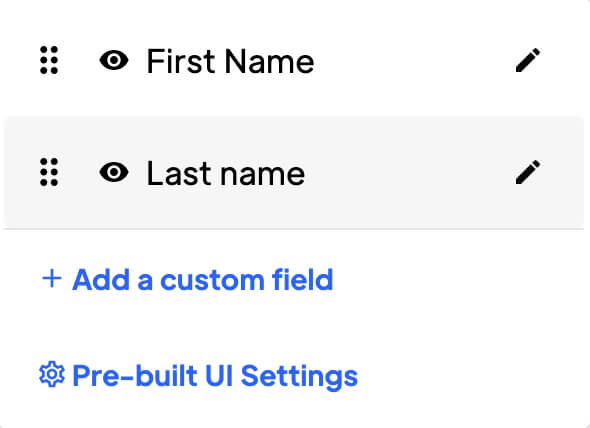
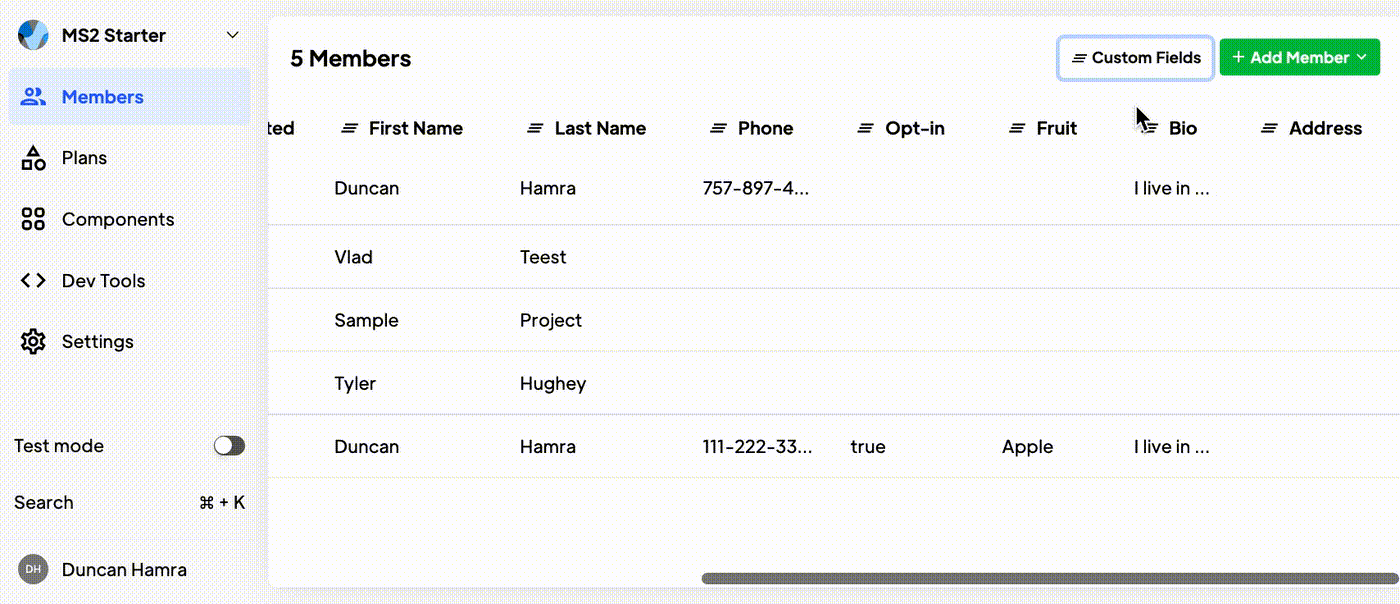
Step 2 → Click “Custom Fields” at the top right.
- Give your custom field a name. This will be used to generate a field ID and may be visible to customers. The field name and field label should be the same thing.
- Click Save.
- The field will appear at the far right of your Members table. You may need to scroll to see it.
How to edit custom fields
- Click the Table header for the field you want to edit.
- Click “Edit” in the dropdown.
- From here you can update the field name. NOTE! Updating the field name will not affect the field ID which is used to collect and display member data on your site.
How to delete custom fields
- Click the Table header for the field you want to delete.
- Click “Edit” in the dropdown.
- Click “Delete Custom Field.”
- Read the warning, enter the custom field’s name, and click “Proceed with deletion.”
Similar Features
DNS Settings / Custom Domains
Enhance your user's trust, boost your SEO, and provide a seamless user experience. You can integrate your domain seamlessly, ensuring a cohesive and professional online presence.
Learn moreCross-Domain Login
Your Members can log in once and then move freely between your different domains that have Memberstack installed, without having to log in again.
Learn morePasswordless Logins
Build a fully custom passwordless signup and login form for your members. Give them the option to login with a password, magic link, social provider, and more!
Learn moreConcurrent Logins
You decide if members are able to share login credentials or log into the same account on multiple devices. You can turn this setting on or off with a single toggle.
Learn moreEmail Verification
Require members to verify their email address during signup and/or prompt them to verify their email after signup.
Learn moreLinkedIn Login
Allow your members to sign up & login into your web app with their LinkedIn account.
Learn more

.png)
